Uncategorized
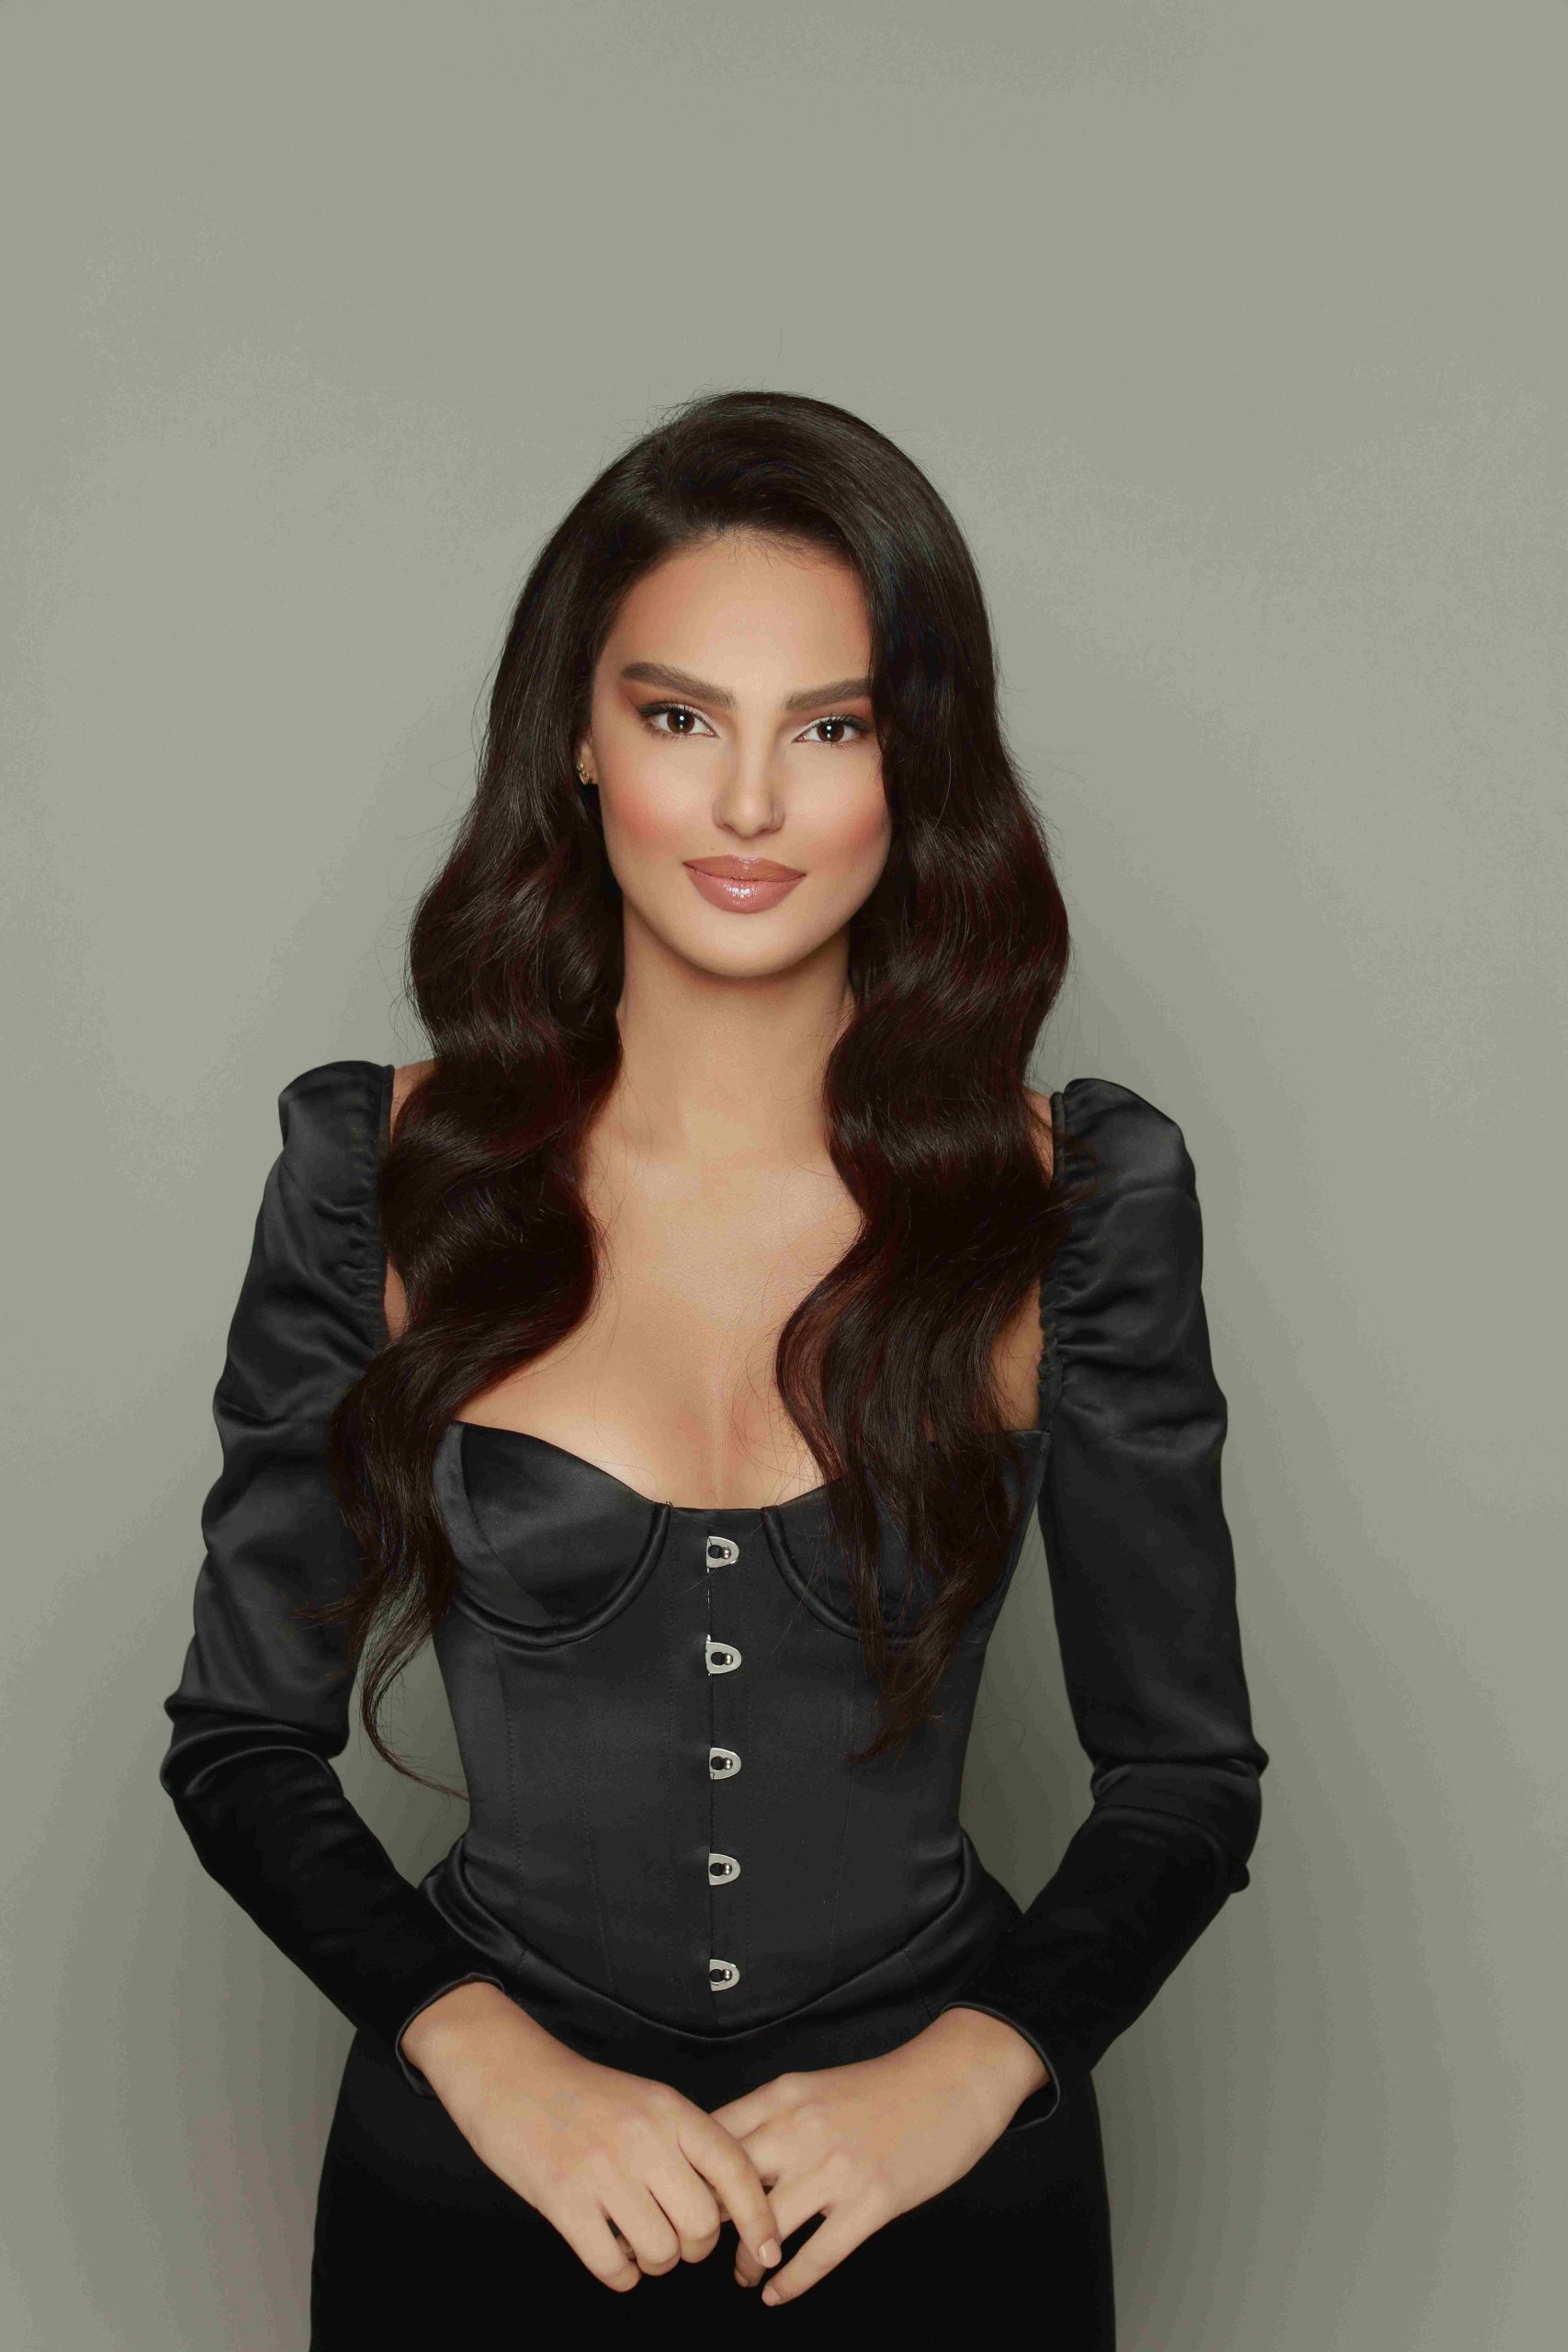
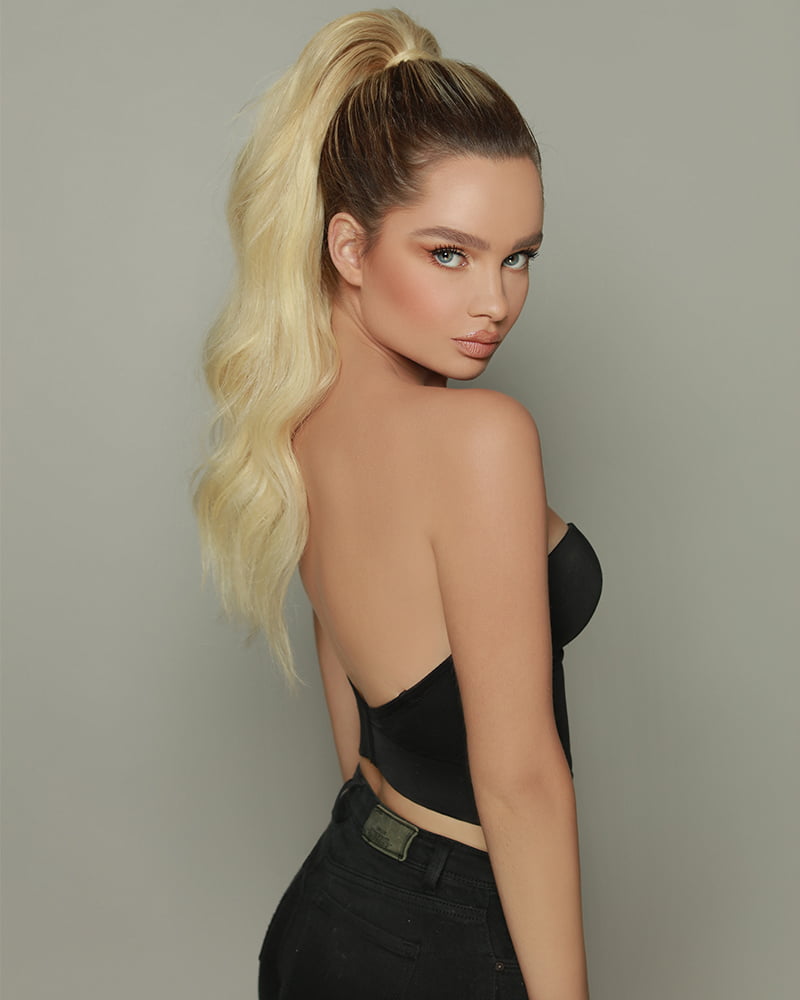
Did you know that you could add more volume and make your hair longer in seconds?
Believe it or not, if you want to add a lot more volume and length to your hair, you can do it in a matter


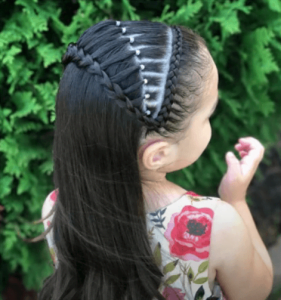
Back to school, a spontaneous outing to the park, a get-together with friends, it’s all part of growing up and we can assure you that she’ll always be happy to look her best. With these hairstyles we show you here, we’re sure she’ll feel like a fairytale princess!
We are going to make a parting in the middle of the eyebrow, and it will reach behind the ear. We will hold the rest of the hair for a moment, and dampen what is left a bit. We comb, and we are going to make another diagonal parting. Making sure that the parting is not even, we hold the one at the bottom for a moment. Then, we are going to work with the next strand; we apply a bit of gel, comb, and divide again. We hold it with a rubber band, and we will continue dividing 4 more strands. We are going to make sure that all the strands are even this time. It is worth mentioning that you can use the color of your choice.

Once the divisions are done we will separate for a moment, and work another lock of hair. We will apply another gel or wax, and make a woven herringbone braid underneath; we take a small lock of hair, divide it into three parts, and proceed to braid. Try to take small thin hairs, and proceed to braid them over the whole lock of hair, until you reach the back part. To make the braid it is important to use a little more wax so that it looks more polished and so that the braid does not unravel. Do the same with the other strands of hair and fasten at the end with a rubber band or clip of your choice.
We will make a division in the center, on the left side; hold for a moment and work on the right side. Release the hair, comb it a little and make a 5-centimeter wide diagonal parting, reaching the beginning of the ear. The rest we join with the other hair that is fastened with a rubber band. In the separation that was made a little gel should be applied, and we braid from the beginning of the forehead starting at the corners of the ear. As we braid, it will be tightened. And we will do this with each strand of hair, until the end. There is no easier hairstyle to do!

We are going to make a parting from behind the ear and from side to side. In the front part, we will make another separation, which will start from the eyebrow on the left side and diagonally to the division that was already made. With the rest of the head, we will make a provisional ponytail. Here we are going to make a woven braid underneath, and we will braid over the whole division. We are going to take thin hairs and as we braid, we are going to tighten them. It is important to work with damp hair and if you wish you can apply a little gel or wax to make the hairstyle much more polished. We will continue braiding until we reach the division. When we have finished with the hair continue braiding a little more, and fasten with a rubber band temporarily.
Now we will work with the other part, and we will make divisions one centimeter wide. We are going to fasten with another garter, of course, in the color of your preference. We will continue with the following ones until there is no more hair left to intervene. And that’s it! We have made all the divisions and we have our small and beautiful braids.
We will loosen our braid a little bit and we will start braiding again, it is worth mentioning that we must take as hair to braid the pigtails that we have just braided, and so on until we finish all the pigtails. Then we will release all the hair and everything is ready to go for a walk.
We will divide the hair from the middle of the eyebrow on the left side, two fingers wide, and forming a half-moon until it reaches behind the ear. We will make a second division that will start almost at the end of the first one, and we will take as a reference that it is two fingers from the end. It will have a U shape and will reach behind the ear as well. With the rest of the hair, we will make a ponytail and will dampen some of the hair, applying a little extra gel while combing.
We are going to make the ponytail, making sure it is a little high. And after the ponytail is done, work on the parting on the right side, wetting the hair. We take a strand of hair and divide it into three parts, braiding it underneath and on top. Again we braid, we start taking extra thin hairs, joining them together and then we continue braiding underneath and on top. All this until the whole division is finished, and it is important to note that as we braid we must tighten the hair. When we finish, it is necessary to fasten it with a rubber band of the color of your preference.
Now we braid the braid on the right side, and we are going to do the same procedure that we did before. To do this we will take a small strand of hair and begin to braid it. Now that the two braids are done, we will take them from the ends and attach them directly to the ponytail. This can be done with a rubber band or a bobby pin. After this, we work on the ponytail part. We will wet the hair and make a high bun in the shape of a donut. We can add clips to make it more secure. And that’s it, we are done with our hairstyle!
First, we will make two high ponytails. For this, we will take a strand of hair, comb it well, and put a rubber band in a simple way. After this, we cross the garter and make an ” Ear” or bun, rolling the tip and placing it in the center of the bun. Now, we will extend it covering the hair that we have placed in the center; always hiding the tip. We pull with confidence, do not think that the hairstyle will not work, and we will place hooks at the ends to continue arranging a little more the bun, and now we only have to distribute a little more hair, to cover the hair that we put in the center of the bun. We repeat the process with the other side to make our two buns.

To start this hairstyle we must gather the top part of the hair in a ponytail, bringing all the hair backward. And then we hold it from above with a clip so that it doesn’t bother us. We make a small parting just below the ponytail we already had, we comb it a little bit and we hold it with a hair tie just like the main one. We hold it up with the clip so that it doesn’t bother us, and we repeat the process again, we will do it until we have 5 ponytails.
Once we have our five ponytails, we start with our “Fake” braid. We divide our first ponytail in two, we hold the second one up with a clip, and the two sections that we have we are going to join them to the next ponytail with another rubber band. Once we have joined with a rubber band, we are going to gently stretch the sides to give it a little volume. We can stretch according to the volume we want to achieve, but it should always be gentle.
And so we repeat with the other remaining ponytails until we reach the last one. We put on a bow and it’s ready!
First, we separate a strand of hair from the middle of the hair, and we put a rubber band in it. Again, we take out a section of the hair, and together with the first ponytail we made, we are going to tie it with another rubber band. Now, with the tail of a comb, we are going to lift the hair that is between the rubber bands; forming a half-circle. And so we go until we complete the whole ponytail. Then we must do the other half of our hair, and to finish you have two options: You can tie the two ponytails in a braid with the last strand of each, or you can put individual rubber bands and leave them as two separate buns. You decide what look to do!
Believe it or not, if you want to add a lot more volume and length to your hair, you can do it in a matter

We know that having long, healthy hair is not easy. Luckily, hair extensions can help us solve that problem in a matter of minutes. As