
Uncategorized
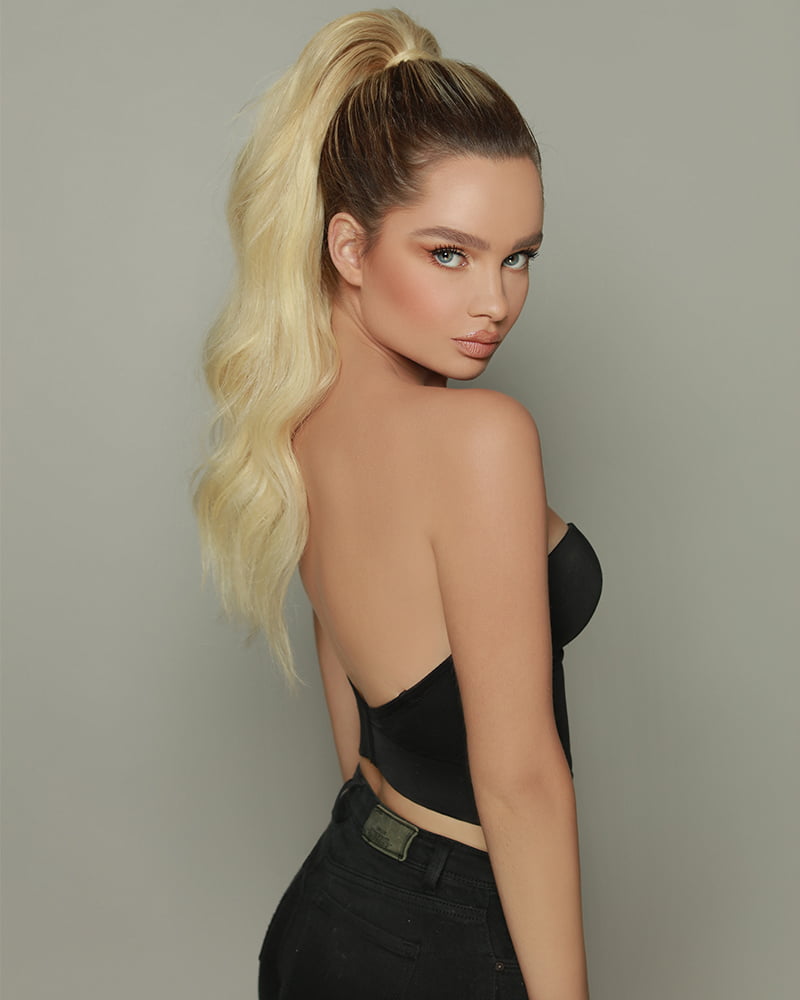
Did you know that you could add more volume and make your hair longer in seconds?
Believe it or not, if you want to add a lot more volume and length to your hair, you can do it in a matter


Sometimes unforeseen events, time, or desire play a bad trick when it comes to planning a spontaneous outing. Don’t cancel or stop for nothing, today we bring you some easy solutions to add pure style to your look without having to spend three hours in a salon:
To make this first hairstyle, which is a favorite among students for being cute and easy to do, you need to take a strand from the top of your head, which is of medium thickness, and then grab a continuous strand that is also the same size, putting it at the back.
We are going to take another strand from the bottom and join it with the first strand, placing it towards the back. And we will go like this successively, in this way we are creating a kind of braid with the fringe that we have in the front part of our head. And once we complete it, we are going to take the locks adjacent to the braid. In the end, we are going to hold it with a transparent hair tie.
This hairstyle is simple and gorgeous; it will keep your hair from getting on your face if you are going through the summer and need something cool.
Mainly, we will part the hair in half as straight as possible. We’ll comb it really well to make sure there are no knots, and then we’ll take a strand of the bangs, braiding it naturally towards the center of the head. It should be long enough to go towards the back, and if you want the hairstyle to be a little different, you can change the three-strand braid to a herringbone braid.
We secure the main braid with a rubber band, and we will fluff our hair slightly at the back. We will also loosen the rubber band on our braid to texturize it to our liking while pulling the other strands. And now, we will replicate the same steps but on the opposite side. To finish, we will place both braids backward and secure them at the back with a bun, clip, or garter. This depending on what you have on hand or what you prefer.
It is a very bohemian hairstyle, and if you wish you can tie the hair at the bottom and make it into a ponytail. Perfect for any occasion, especially a casual outing.
This hairstyle is quite similar to our 90’s rocker times, as voluminousness will be the main key to complete every hairstyle. It is definitely an excellent option to wear a vintage touch without looking outdated.
For this hairstyle, which is quite casual, we will need to have our hair pulled back. We will help ourselves with a comb to gather part of our bangs towards the front, and we will hold it to comb it in the opposite way than it is usually done. This will create a little hair relief that will add texture to our mane. After this, we will comb it a little bit back and we will gather it with a clip when we bring it to the hair that was already gathered. And that’s it!
If your hair is not voluminous enough, you can carefully pull the strands at the top depending on your preference.
For this hairstyle we are going to use our thumbs to part the hair in half, bringing it upwards from the head. Not in a straight line, but upwards. Then we comb through the hair, making a ponytail. You can use a brush if you need to, but it is more advisable to use your fingers because we don’t want anything neat. Then start pulling out strands of hair in an alternating fashion to simulate more of a tousled or tousled effect.

Once you have the look the way you like it, tie the bun with a garter or a bun, whichever you prefer. You can use some thick ones as they give volume to the hairstyle. We must twist the hair a little to get our bun on top of the head and arrange it until you like the way it looks. Don’t forget to put some bobby pins to fix it. If there are some unruly hairs left, you can use some hairspray, and as a final touch, you can put an extra accessory. Like a cloth scarf or a synthetic headband. And voila! Super simple, it’s an eye-catching hairstyle.
Here we are going to apply the same technique as with the fingers, but this time we are going to go even higher. We take out strands and we are going to divide the hair in half, we will put a clip and we are going to make two small ponytails in each part. If you have little hair, it is highly recommended to use thick rubber bands to add volume to the look. Then, we take one ponytail, roll it up and twist it around the hair tie, and then secure it with bobby pins. We do the same on the other side. To finish, we comb our hair back a bit.

In this hairstyle, we need volume at the back of the head, but if you are privileged and have a thick head of hair, you can skip this step.
With your fingers, we are going to divide the hair in half, and the top half we will hold with a clip. We are going to pull out strands to the side of the face, and when we have the volume we like, we will tie the bottom half. We will take our bandana, and we will hold it on top of the head. Then we release the halves we have tied together, starting with the bottom half, and that’s it!
If you need the look to look a little more unruly than a good girl, you can use hairspray to tousle it up a bit and add more texture.
We are going to gather our hair into a side ponytail, securing it with a thin rubber band. We will do this to make the process of making our braid easier. From this, we will divide our hair into two parts, and grab strands from each side, crossing them on the opposite side. This is a recommended hairstyle for long hair, as there is more hair to use. It is important to secure the strands very well so that the braid is tight. To finish we will place a small garter that contrasts with our hair color or transparent. We can, with the help of scissors, cut the garter that served as a base. But this depends on the preferences of each person.
What we are going to do is to divide all the hair into two parts, one of these we will hold in a garter so that it does not get in the way when we make the first braid. For this hairstyle, we will make the Dutch braid, but we will take it downwards, so it will be totally gathered.
Start by taking a fairly thin strand of hair and dividing it into three sections. Then you start crossing them at the bottom, and to each crossed strand you add hair from the outside. The secret to a good braid is to take the strands firmly and braid them very carefully.

This hairstyle looks incredibly beautiful on medium hair, and also on short hair. The only difficult part is starting the braid and adding the top strands of hair, but once you have added the hair from the top it makes it easier to braid it down.
Once the braid is finished, we will secure it with a hair tie. On the other side repeat the procedure we did in the first batch.
This is a perfect hairstyle for when you have an event and want to look elegant without eliminating your curls. You simply tie your hair up and then tie the top part. You leave some curls in the front loose like a fringe and from this, you take the top curls with some clips, pin them up and they will make a bombshell with volume but a lot of control. A point not to forget is to take a styling cream or a fixative to avoid the frizz that you will get around your hair.

Preferable for wavy and strong hair; place all your hairs to one side, with the help of a comb, untangles it, and then apply the hairspray of your choice. You must separate the hair as many times as you want, up to 5 times. After this, you roll the strands and with the help of the clips, you fix the hair to keep it combed to the side of your choice.
First of all, you have to pick up two sections of the top part to make a braid, and with the ends, we start braiding. You have to go picking up from the end while adding hair from below while crossing it to the other side. All this until the braid is finished. We fasten it with a small rubber band, and then we roll it up to make the updo. Ideally, we start the braid higher up so that the bun is not so low. And then, fasten it on the inside to finish. You can decorate with some clips in the hair.
In this case, the use of hairspray is mandatory as there is not much outside the hold. Unless you want to achieve a more casual style, this is all down to your preference. You will want to wear it more than twice!
Believe it or not, if you want to add a lot more volume and length to your hair, you can do it in a matter

We know that having long, healthy hair is not easy. Luckily, hair extensions can help us solve that problem in a matter of minutes. As


