
Uncategorized
Did you know that you could add more volume and make your hair longer in seconds?
Believe it or not, if you want to add a lot more volume and length to your hair, you can do it in a matter


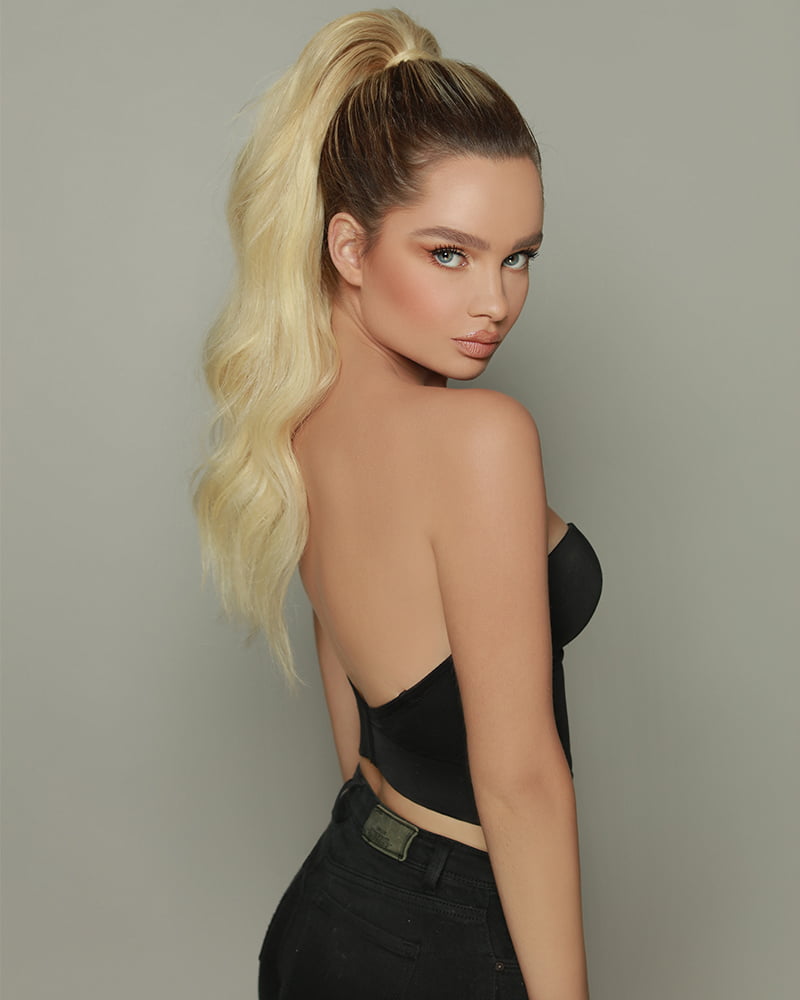

Loose hair or up-do? High or low ponytail? Up-do or braid? One of the dilemmas that all of us girls face when it comes to styling our hair is whether to wear it loose or with an updo that stands out. Especially if we have to go to a special event or celebration, in which the look of the hair takes on a special role.
However, something we all know is that in any type of event or activity, an updo will help you look elegant and create a super chic look, with a unique and different style. The updo is a classic, it always looks good, and you can wear it at any time: a party, at the office, or while playing sports.
The updo is an all-time classic, so it will always be the perfect choice for any occasion that calls for a more sophisticated look.
Whether you want to dress up for a date, a business meeting, a special evening event, or just want to change your everyday look, updos are a flattering, sophisticated, and versatile hairstyle.
If you want to change your hair look, and you are one of those who take risks with flashy hairstyles, do not miss the selection of updos that we have made for you.
Get inspired by these updo ideas and find your ideal style!
Before we give you our fabulous list of updos, we want you to be ready to recreate the one you like the most, so we have prepared a small tool kit that you should have with you to achieve each step to perfection. But don’t worry! They are simple tools that we all have in our beauty bags.

The brush is basically used to detangle the hair and add a little more shine. It is very important to do this before starting any hairstyle, as it is very uncomfortable to find tangles. Especially if your hair is very long, and you are constantly creating knots.
Tweezers

It is very important to have two or three clips, since, in some hairstyles, you will need to separate a section of hair to make the hairstyle easier. These will help you to hold the strands and also prevent you from losing visibility.
Hair ties:

It is advisable to have at least two sizes of hair ties: one large and one slightly smaller. The first one you will use for main ponytails, and the second one for smaller ponytails that do not require much hair. You will use these depending on the hairstyle.
Bobby pins:

Whether it’s bun pins to secure your hair into an updo or flat pins to hold any strand of hair: both are irreplaceable in their way for more sophisticated hairstyles. The best thing about them? They camouflage easily in the hair, and you can use as many as you want to secure everything in place.
Iron or curling iron:

If you want to transform your hairstyle and your look in the blink of an eye, there is nothing better than these appliances. Choose them according to the nature of your hair to go from straight to ultra-straight or the other way around. With them, you will undoubtedly give a plus to the hairstyle you are going to do.
Hairspray:

Last but certainly not least, we have the hairspray, this is the final step for all hairstyles and with it, you can make sure that the fabulous result you have achieved is maintained throughout the day. You can also use it to set the hair, create volume, and shape it without weighing it down.
And now that we know what it takes to create these hairstyles, let’s go straight to the list of updos for all occasions, which are easy to do, and beautiful to wear. Don’t miss any detail, and get your tools ready, let’s go!
The truth is that because of its name it seems almost impossible to do, but you will see that the only complicated thing about this updo is its name. This low bun is not only flattering, but it will take very little time to do.
The first step is to brush the hair well to get rid of any knots or tangles and get our hair as smooth as possible. We take the invisible rubber band or the color of your hair and make a low ponytail and centered on the head.
The second step is to insert the fingers, from the inside, between the hair just above the rubber band that holds the ponytail.
Now we introduce the ponytail through the hole created with the fingers from the outside to the inside and pull. In this way, we create a twisted effect that will also serve to hide the rubber band.
To finish, the rest of the hair we will roll on itself as if it were a roller. With the help of hairpins that will also be the color of your hair, we will hold it at the top, so it will have the appearance of a low and light bun. If you want to embellish the updo, you can decorate it with a pretty barrette.

A romantic, elegant, soft, and easy-to-replicate updo that you will love is the second option on this list. Just follow the steps below, and you’ll be ready to go.
The first thing we will do is to gather the central part of the hair in a lock, leaving the layers (front) on both sides out. In the center part, we will make a classic braid, tying it with a small hair tie or a rubber band.
Then, we will make a bun with this braid and secure it with bobby pins. The next thing to do is to braid the front strands that were left free outside the central back braid. For these braids, it is advisable to do it with the French technique, that is, to take strands as we are forming the braid moving them towards the inside and not towards the outside. They will look more integrated and natural.
Finally, we will pass these two braids around the bun, and depending on the length of our hair, we can create a circle around it or just hide it under the bun, finishing the Updo.
Remember to always secure the braids with bobby pins, because if the bun is loose, it is very possible that it will fall out and the whole hairstyle will fall out of place.

One of the most glamorous updos in the world of esthetic and hairstyles is the French twist. It has an elegant and sophisticated style that is also easy to replicate.
The first thing to do is to separate a thin strand that will be outside the updo, although it is possible that we want all the hair to be inside our hairstyle, and it is also valid.
Then, we will comb all the hair to one side, and we will hold it with large hairpins vertically from the nape of the neck to the center of the head. It is good that the bobby pins are large because this way we will only need a couple of them to cover the hair. Since the key to this updo is firmness, in this case, we can place two bobby pins, one next to the other, to reinforce the hairstyle.
Then, the hair that has been left to the opposite side, we will gather and fold it on itself, forming a simulated cylinder with the hair. Secure the updo with more bobby pins, but this time underneath and inside the cylinder, so that the bobby pins are well hidden. And ready, a little hairspray and show off your hairstyle!

If you’ve been to a wedding, you’ve surely seen more than one girl wearing this hairstyle romantically and softly. Here we show you how to do this classic hairstyle in simple steps so that the next one to shine is you.
First, we must separate the front part of our hair up to the middle of our ears, this is the part that we will hold away from the rest of the hair until the end. Then we will comb all our hair into a low ponytail that we will tie with a rubber band for less visibility.
Now, as in the first updo with our fingers, we will make a hole in our hair, and we will put the ponytail through it, but now from the inside to the outside. This way all the hair will be upwards, we will secure it with a bobby pin as close to the base as possible, and then we will tie another garter near the ends.
Once we have the ends tied we will make a bun with the ends facing inwards just where we have just placed the hairpin, and we will add a new one to hold the hair just after the hair tie. This way we will have a bomb whose sides we will secure with a bobby pin on each side.
Now to finish we will take the strands you had separated, curl them and leave two strands of the front strands loose. The rest we will take to the back and gently surround the bombshell, tying the ends with the necessary hairpins. Apply the hairspray and that’s it!

Perhaps the simplest updo on our list and at the same time the one with the most romantic and visibly more worked finish, this is an updo that you can use for any outing, wedding, or important event where you want to look spectacular and work by professionals.
Our first step is to simply comb our hair, leaving a soft line in our front part. Once untangled, we will take two strands from the sides and tie them with a rubber band, preferably black to make it less visible. Once both strands are tied you will take the new ponytail and give it a twist towards the inside making the hair slightly curled.
And now you just have to repeat the same step over and over again. Take two strands, from the sides, tie them, twist them inside and take the next two. This process will continue even until you reach the end. You can take the tied strands and pull them gently to make them softer.
At the ends, you will then take the hair tie at the end and roll it inwards to your neck like a small coil and secure it with bobby pins and apply a little hairspray for the finishing touch.

If you want something quick, that will gather all your hair and make you look elegant to go to work or a business meeting, do not stop reading, this is your hairstyle. It will only take you 5 minutes and a pair of scrunchies.
Start by brushing your hair back to remove any knots. Then divide your hair into three sections vertically. Take the top section and make a simple bun, securing it with a rubber band and bobby pins, and place it a little lower than the section you made.
Repeat this same step with the center section, but this time secure the bun inside the area you divided. And then repeat the process on the last strand, securing the bun a little higher than the divided section. This way you will have three buns in a line, and you will look fabulous.

A hairstyle for those days when your hair is not in the mood or when you have little time to get ready but still want to look stylish is definitely this one. You will need two rubber bands, two bobby pins and if you want some hairspray.
For this hairstyle we will divide the front parts of the hair, leaving it untied. For the rest of the hair, we will join it in a low ponytail that with our fingers we will divide the hair creating a hole putting the tail from the outside to the inside.
Afterward, we will tie the two strands that we let loose, and we will do the same rolling from the outside to the inside, only this time after having it rolled we will put it in the hollow leaving the appearance of a single tail.
To finish we will take the hair that hangs from the tail, and we will spin it, we will do it until we have a small bun that we will fix with two bobby pins, add some hairspray, and that’s it!
And as all good things come to an end, here ends this list, but also begins your journey, choose the one you like the most and recreate it for yourself, and use them whenever you want. We are sure you will look like a queen, full of elegance, grace, and above all beauty.

Believe it or not, if you want to add a lot more volume and length to your hair, you can do it in a matter

We know that having long, healthy hair is not easy. Luckily, hair extensions can help us solve that problem in a matter of minutes. As


