Uncategorized
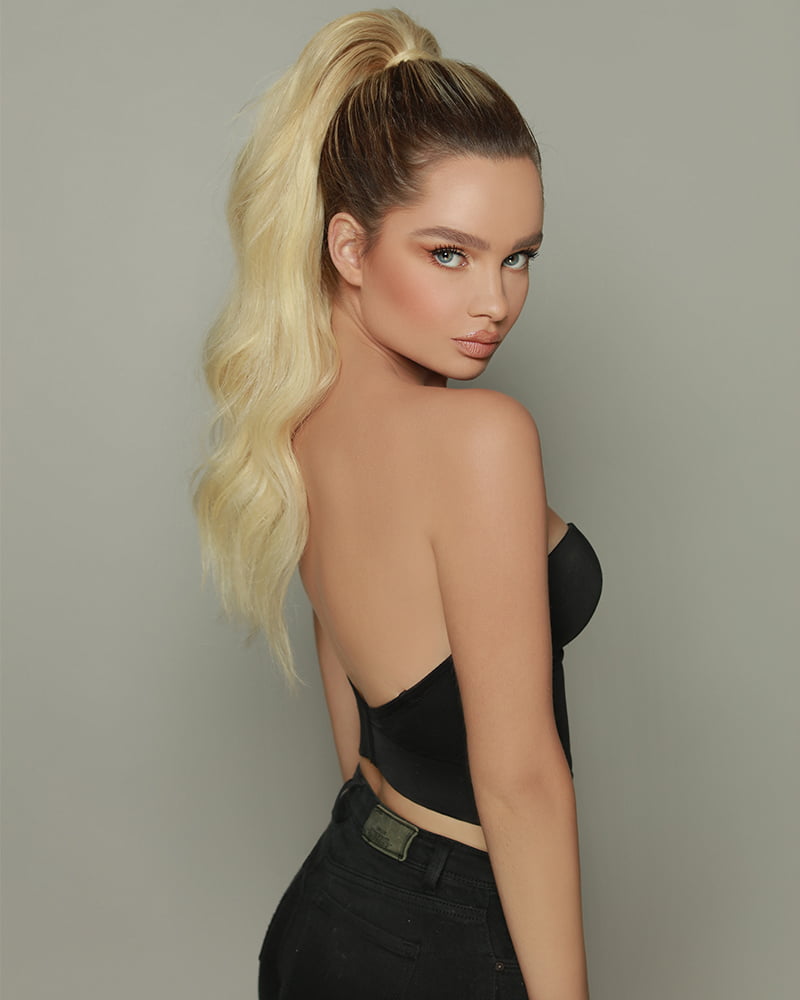
Did you know that you could add more volume and make your hair longer in seconds?
Believe it or not, if you want to add a lot more volume and length to your hair, you can do it in a matter


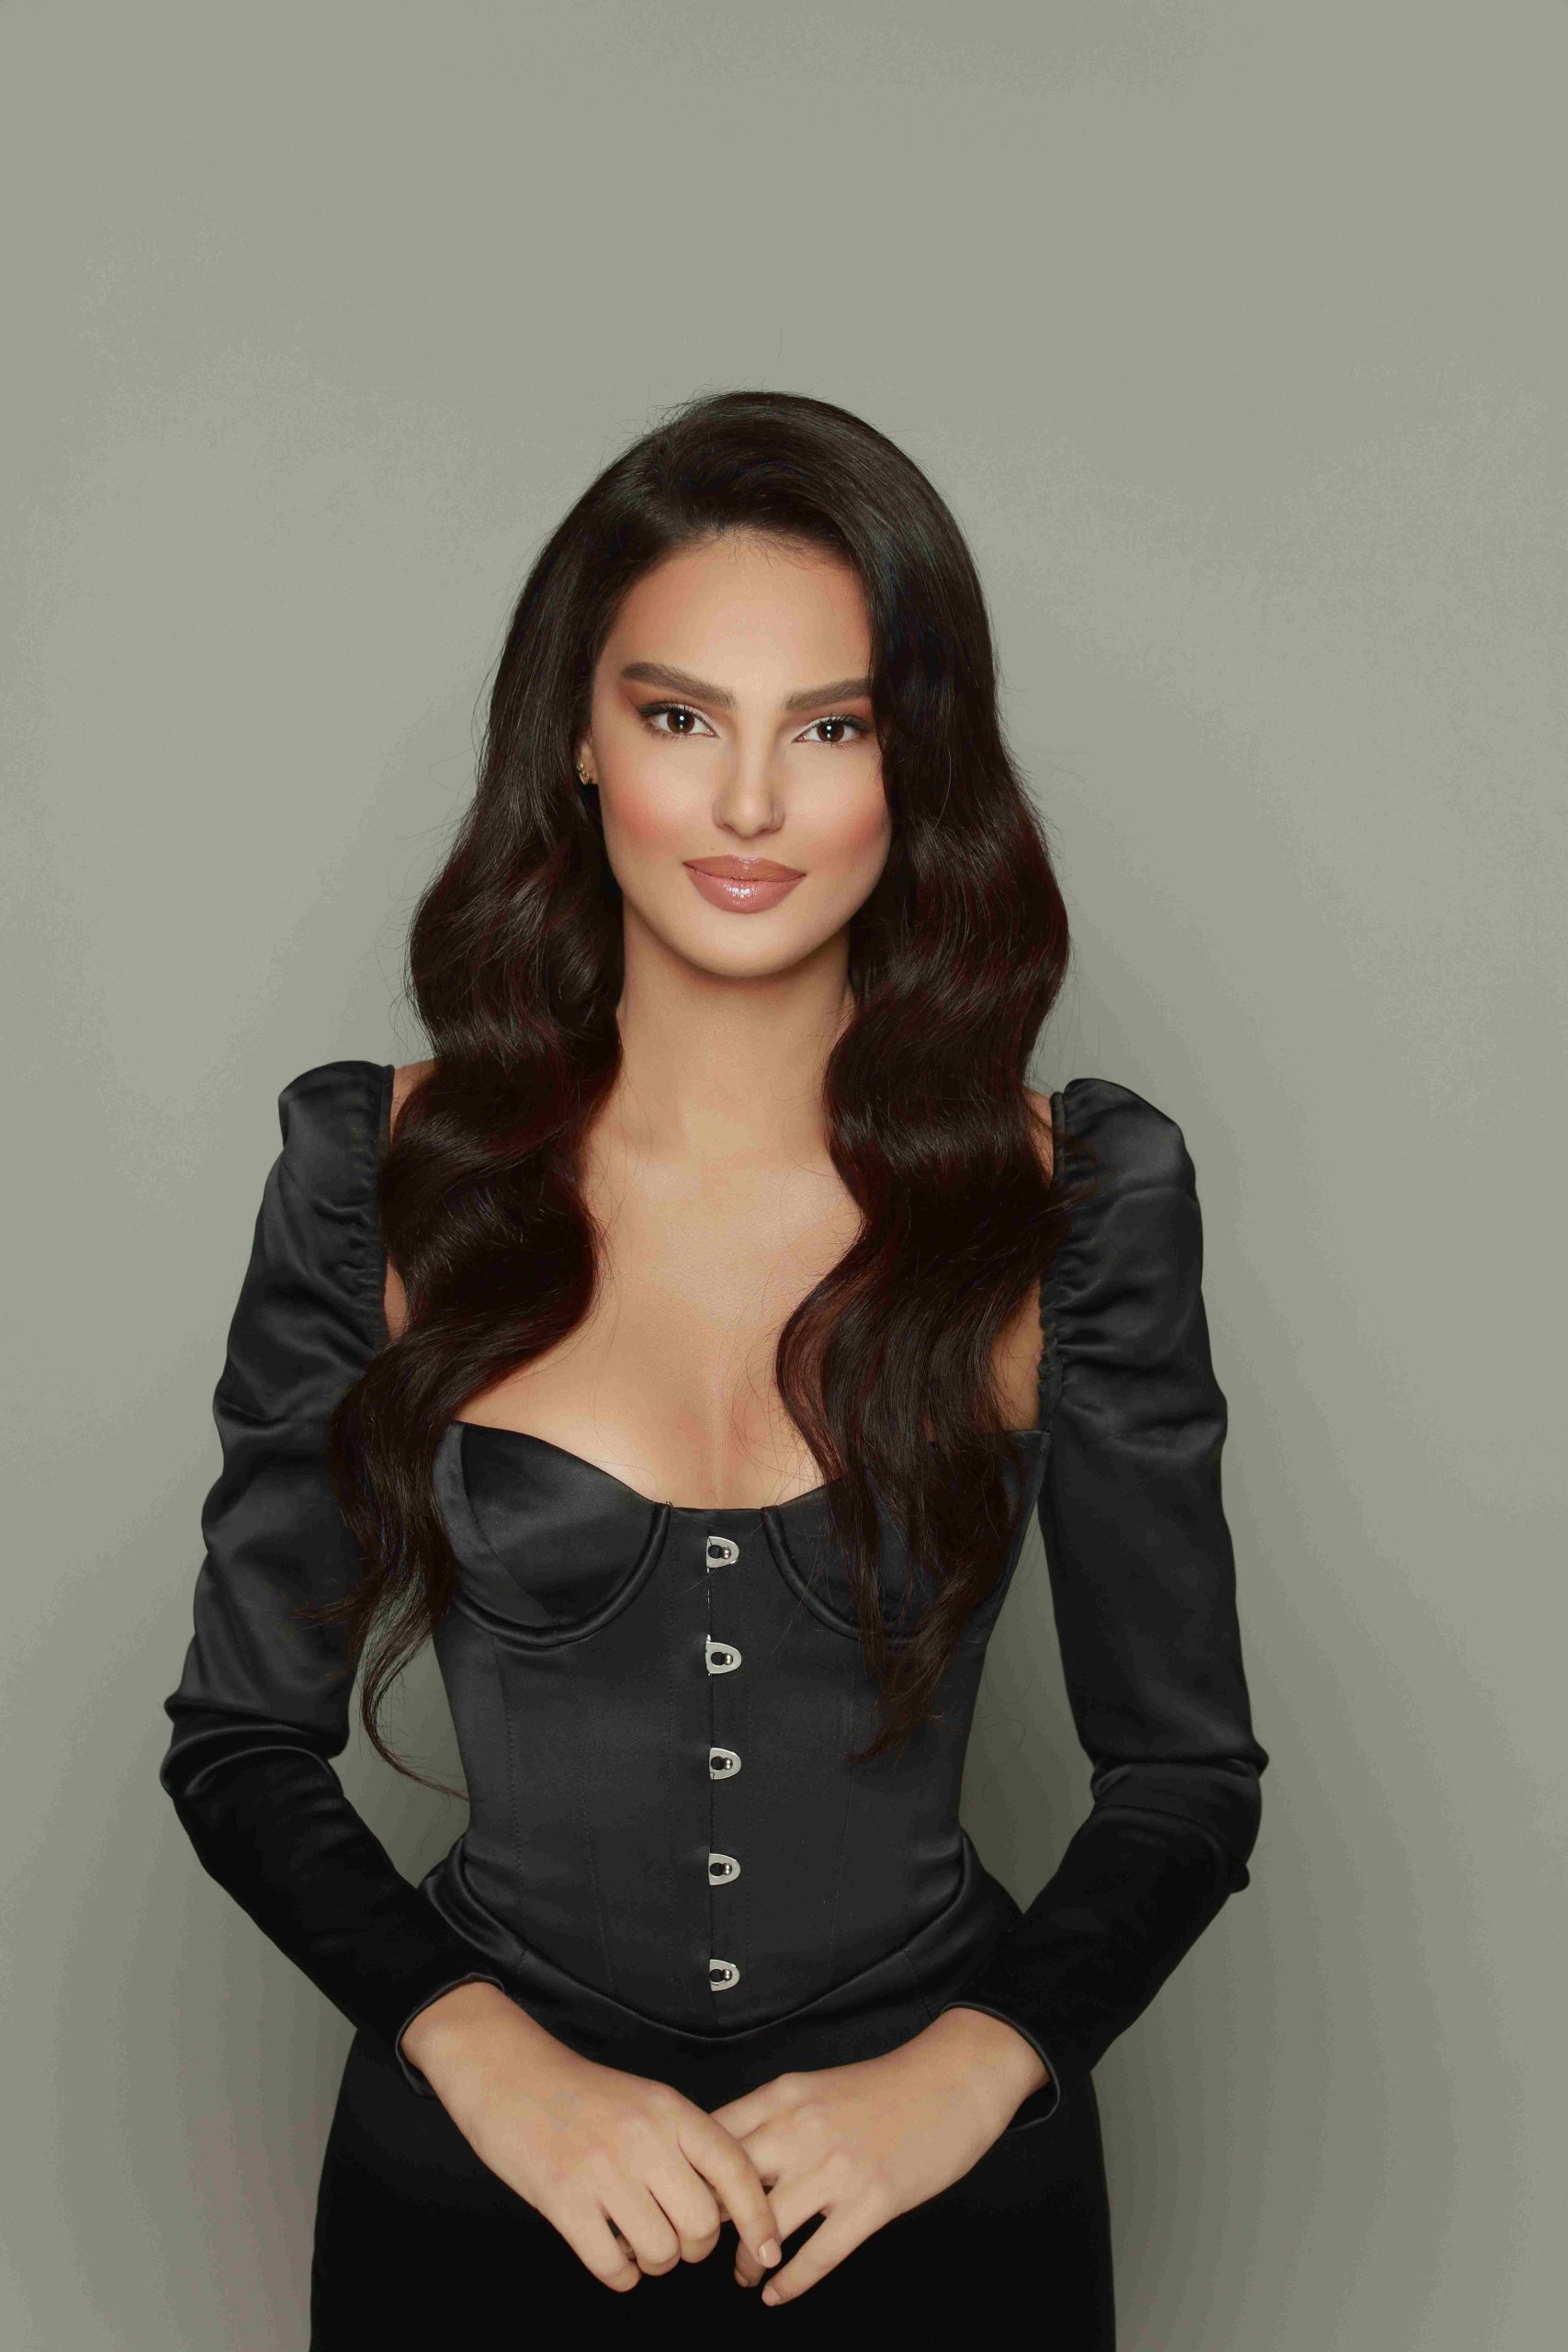
You have a good age and you still have a tender and pretty face? Do you have a chubby face with many cheeks? We have the solution! Here we bring you some hairstyles that can slim your face, or can stylize it so that you can show it off to the fullest. You don’t need to hide who you are, because all face types are beautiful.
Be careful, some hairstyles will have tips to show them off in a better way, they are classic hairstyles, but taken to the max! Read on to find out what’s new in these hairstyles.
We will need a brush or a comb to help separate the hair as straight as we can, but first we will untangle the hair and remove the knots. We will separate the fringe of our hair in a diagonal line and then begin to braid, for which we will take a strand from the top of our head and will divide it into three parts. We will make a braid passing the sides from one side to the other. And we are going to pick up loose hair from around our hair. It is important to pull the loose strands, and continue doing the same until we reach the middle of our head, where you will continue with a normal braid until you finish and secure it with a hair tie.

An optional step in this hairstyle is to curl the loose strands, and that’s it!
We will pass our hair to one side and secure it with a clip. We are going to make a German braid, so divide our hair from the top into three parts, and we should pass the strands underneath, and join the loose hair as we go along. We will not leave any hair on the outside, until we turn the head slightly, and leave it on the side, we can loosen the braid after finishing it to give it even more volume. And at the end we can fasten it with a garter of the same color of our hair.

To put the fake fringe we will separate the hair in half, and with the extension clips we will add it on our forehead where we like it best. To start the hairstyle, we will divide again in two parts and we will braid each strand of hair, until we have two braids on each side. We are going to tousle them a little to give more volume, and we will pass one over our head until we create a circle, when we will tie it with a hairpin. Do the same with the other braid, and we will arrange our bangs as we like. It is a super formal style but at the same time you can wear it anywhere you want!
We will divide the fringe and pass all these strands to the back of our hair, and we will comb our hair down to give a little more volume strand by strand. With our hands we will secure it with a bobby pin at the back, and we will see that it is quite fluffy at the top. So that it doesn’t look so out of nowhere, we will take a few strands, comb them well, and pass them around our hair balloon at the top. After we have everything securely fastened, we will take a low ponytail that is on the side of the head.
For this hairstyle we will start by gathering our hair from the height of our eyebrows to the crown of our head. We are going to split this section in two and knot both strands together like shoelaces. We are going to make sure that all the strands are inside this knot, and that no layer is coming out. To give it the final touch we are going to secure it with a double knot and pass both strands between each other. This chignon has more of an aesthetic function, and at the end we must adjust it with bobby pins so that it does not fall out.
To begin with, we are going to fold the bandana into itself, making it look like a tube, as thin as we can. We will place it in the back, near the neck, exactly in the middle. To braid, we will separate the hair in two and on each side we will make one. Assuming that one strand of the three is going to be the bandana. Therefore, we will just separate the hair in two and complete the number three strand with it. We will do this on each side, and secure it with a rubber band. We should fluff the braid a bit to add more volume and create a tousled effect that will look beautiful. We can pull out a few strands on each side of our head, so we can make our face look a little thinner.

For this hairstyle the first thing we will do is take our hair and place it to one side, and we will select a part that is more or less a third of all our hair, and we will place it towards the back. And with the remaining hair we are going to make a regular three strand braid, securing it with a rubber band. And with the hair in the back we will make a twist, from our bangs to the tip. Then what we will do is twist the braid with this strand. You can do it in the back or in the front. To cover the garter that we have initially placed in the braid we must wrap it with the hair and we are going to secure it with a bobby pin. We will fluff the hair slightly to add a little more shape, and we are done!
First we need to gather all our hair back in a low ponytail, we will look for a brush to have a more polished look and not too much knot, also to make our ponytail look better, I recommend using a thin and preferably transparent garter. To give more volume, we will pull some random strands. We will divide the ponytail in two equal parts horizontally, and we will secure the top strand with a rubber band two fingers away from the first rubber band. We will follow this whole process until we reach the tip of our hair, and if you want it to be more voluminous, just pull each bubble of hair between the rubber bands. If you want the opposite, just pull a little or don’t pull at all.
We are going to take our hair from the height of our eyebrow, towards the crown of our head. From the bun we make, we will take a strand and braid a regular three strand braid. We will secure this braid very well with a small rubber band, and we will pull the ends but only on the side that is close to the fringe. Once it fluffs up, we are going to start wrapping it around itself and we are going to form a rose. For this we’ll just twist the braid itself multiple times, and there might be a strand sticking out at the end, but we just need to hide it behind the rose. We’ll secure it with a few clips so it doesn’t fall out. You can leave it loose, or, with the help of some hooks gather the remaining hair at the back of the hair.
The first step is to take out the front strands and hold them with a rubber band. Then divide the hair in two equal parts in half. And make two simple ponytails on the sides. You can tousle them a little to create volume, but try to make them even. Then twist each one into small buns in a spiral shape. Put a thick tail to cover the main ponytail and that’s it! This should be done on each side, it only remains to release the small locks of our forehead and you can leave. This is one of the best to try if you have a lot of cheeks.

Divide the hair in the front part and take a thin strand from one of the sides, braiding it laterally. We must pass the strands that we have at the ends to the center part, and can be done underneath so that it is in relief. And every time you pass the strand, you should add more hair from the surrounding area. There are many ways to do this type of braids, but this is one of the most ideal for this type of face. We braid it close to the scalp until we reach the end of the hair, and then tie it with a rubber band. This on each side of the hair. After finishing our braids, we can tie the low ponytail at the bottom with a scarf or a rubber band. We can open the braids a little before tying the ponytail to have more volume. We can complete it with a few strands in the front part of the hair.

The simplest of the top but one of the best for the style it brings. The only thing we have to do is to fasten a ponytail in the middle of the top hair, not too much hair, and take a thick tail to make a small ponytail at the back of the mane. We must tie the scarf at the top and bring it down to the neck to accommodate it and tie it. The wide part should be at the top of our head, and that’s it! We can take out the strands at the front to make it look even more retro.
We are going to separate our main strands. And with our hair already parted in the middle, we will take four sections from the top of our hair (well separated with a comb each) and tie them together. If you have small clips it’s pretty easy, but it can also be done with rubber bands. We divide the section, roll it up a little bit so that it has relief, and after that we tie it. It looks beautiful! We release our main strands, and backcomb our hair to add more volume to our hair if it’s totally straight. Or if you can curl it, even better.
For that day when your hair is a bit messier, we will make a ponytail, but not a simple one but a high one without the need for the front part to be very dull, which is what happens to many of us. If you have very short hair and you can’t afford such a high ponytail, you can put it lower because the technique is the same. We make the parting in the middle of the hair, and divide the hair into three sections. Two that will go from the end of the parting to the end of the ear. We will hold these strands with a hairpin very carefully, so that there are no marks in the hair. And with all the remaining hair, we make a high ponytail and return to the strands that we had reserved in front. We are going to divide each of them in two.

We are going to make a small triangle at the top and we are going to reserve it exactly the same, the small strand we will take it behind the ear without much force, and we will give a turn to secure it with a transparent hairpin. And we will do the same with the other side. To put the hair we are going to bend it into a long strip. We take it in half, place it inside the neck and pass both ends through the hole we have made and pull. All that’s left is to place the hair elastic and give it a twist so that it is attached to the bun. We can use this same technique to make a much more polished hairstyle, so take this tip with you.
We separate the front part from the end of the parting to the ear, we reserve it with some hairpins and with all the part that we have left behind we make a tail to the side. We take all the hair we have in the ponytail and we start to twist it very tightly. When we have everything tightly twisted, we go up towards the head, not reaching the back of the hair. We fix it with a bobby pin or a rubber band, and leave loose strands in the front. We will have extra-large strands, and we do the same operation. We take it to the back passing it over the main bun, and we fix it in the back part as well. As the hours go by, the bun will unravel and little hairs will come out, but that’s the intention! It’s the best way to look beautifully tousled.
Believe it or not, if you want to add a lot more volume and length to your hair, you can do it in a matter

We know that having long, healthy hair is not easy. Luckily, hair extensions can help us solve that problem in a matter of minutes. As